
|
|
| Home | History / Background | Building the Observatory | Research | Photo Album | Who Am I? |
|
Here's how I built my backyard observatory. I based my design on ShyShed plans. |
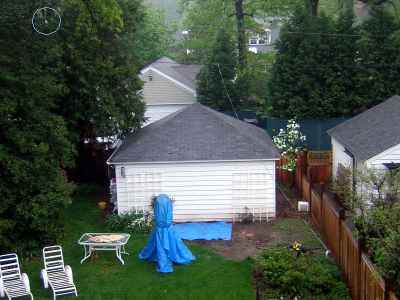 (17 April 2005) The job site. Note one of those nefarious alley lights in the circle. This one's thankfully hidden by the trees. Others aren't. The view is to the north. |
 (15 May 2005) The first groundbreaking cubic foot! |
 (15 May 2005) Going once! |
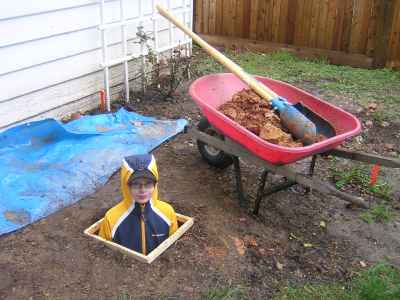 (15 May 2005) Going twice!! |
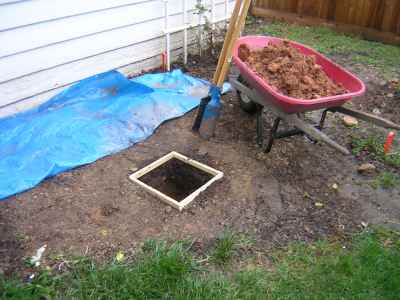
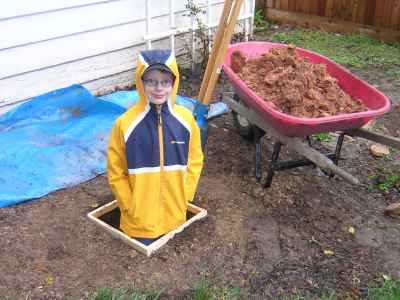
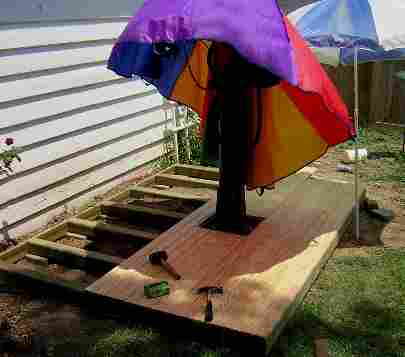
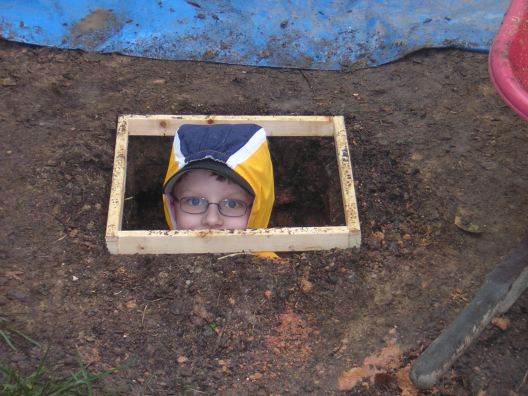 (15 May 2005) Gone! This is the 48-inch deep 16-inch square hole for the pier footing, ready for concrete. Note: My boy comes out first! |
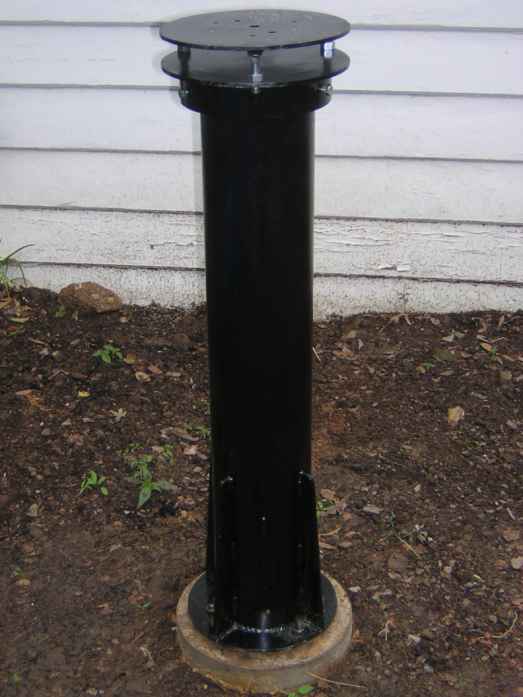 (21 May 2005) After the concrete set, I installed the pier on its footing. |
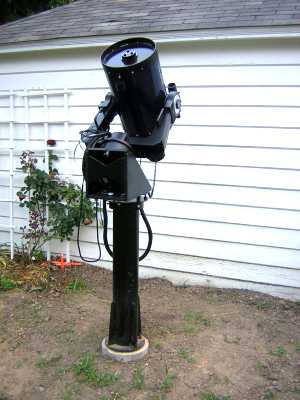 (24 May 2005) And a few days after that, the telescope is on the pier and aligned. Next will be the enclosure for the telescope. |
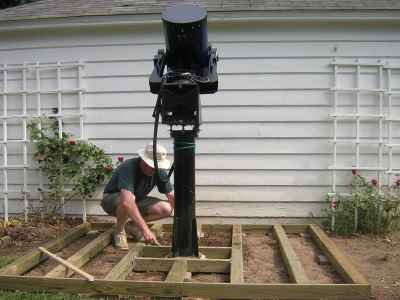 (25 June 2005) Laying out and leveling the floor joists for this 6'x8' shed observatory! |
 (26 June 2005) It was incredibly hot this day, hence the artificial shade. The observatory floor is coming along. Next week the walls, and then the roll-off roof after that. |
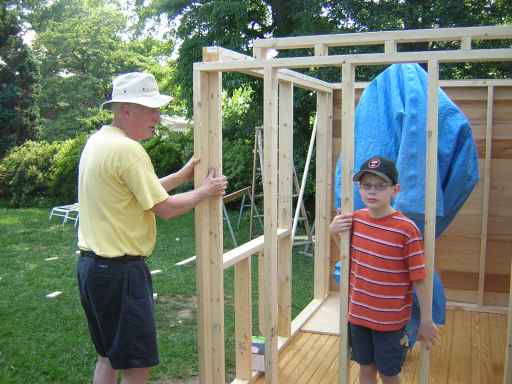 (04 July 2005) The floor has been sealed, and we've got four walls up. It's been easy to work around the telescope. |
 (04 July 2005) Another view. Two walls are finished. The door is on the left front; window to the right. |
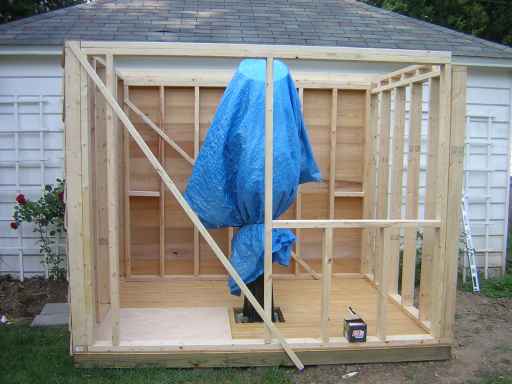
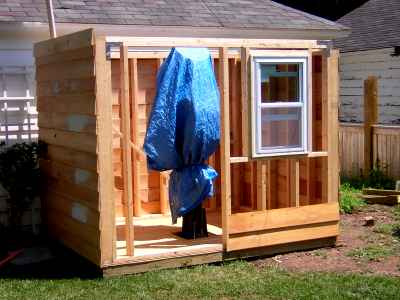 (09 July 2005) The walls are done except for the last bit of siding; window's installed for weather protection and security. |
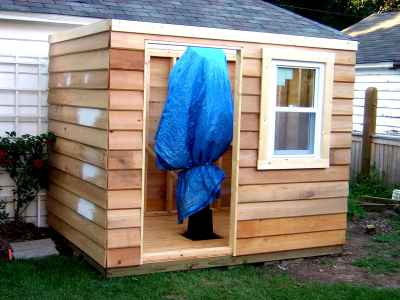 (10 July 2005) The siding is finished and the window trimmed. There's a bit more trim to set in place, too. The roof is next. |
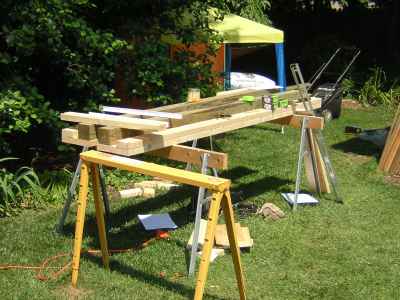 (15 July 2005) The outdoor workshop. |
 (17 July 2005) I finished painting the "lower 48" (square feet), and I've got the gable ends completed. Mitre cuts through 4" at 67.5 degrees were not fun. After building the rail supports, I can slide the roof base in and complete the roof. |
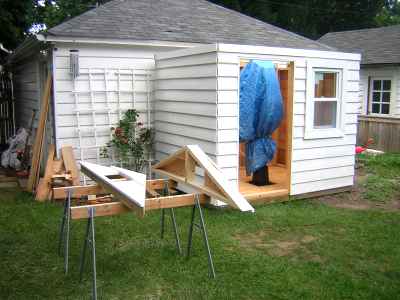
 (24 July 2005) The rail support structure was completed this weekend, along with some trim pieces on the shed. I put the gables on top and fastened them together with some plywood sheathing just to keep the rain out. I haven't installed the tracks yet, so the roof is not attached. |
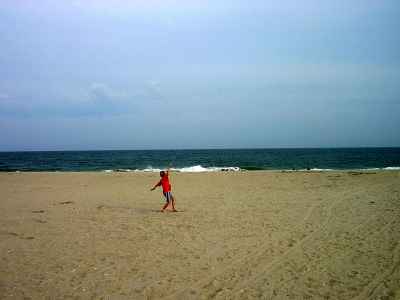 (31 July - 06 Aug 2005) After all the hard labor of the past few weeks, I had to spend a week contemplating the roof. The track arrived just before we left for Cape May NJ. Another one of my boys is flying his kite on the beach there. |
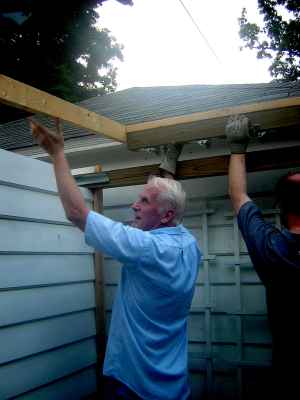
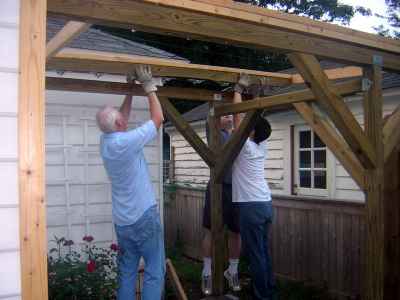 (12 Aug 2005) The roof base frame was built on the ground. After installing the track on the inside of the shed, my brother- and son-in-law helped to lift this hundred-pound frame onto the external support beam tracks. |
 (12 Aug 2005) Then we put the rollers in place and slid the roof into the tracks!! After that, the outside tracks went on the external supports. It fit perfectly. The roof now rolls completely on and off the shed. |
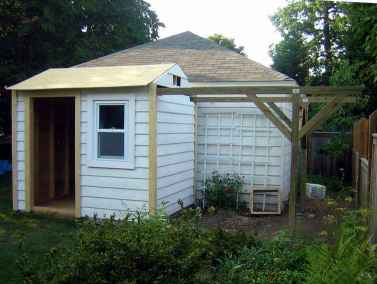
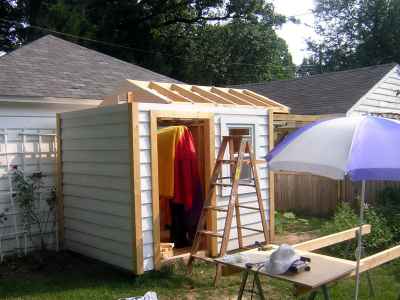 (13 Aug 2005) In spite of another unbelievably hot day (95+ degrees), framing the roof goes on. For this 6x8 shed, I departed a bit from the plans and put in five rafters (on 16-inch centers) and only one row of cross-members. It helped to stand inside the shed to work, but it's still hard to swing a hammer overhead in the heat. |
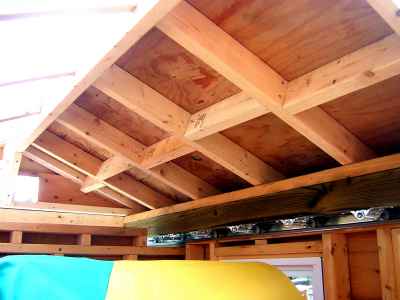 (14 Aug 2005) An inside view. This front side of the roof faces south. Rather than using joist hangers, the 2x4 cross members are nailed in place by offsetting one from another. You can't see it here, but there is also a half-inch open slot along the ridge pole to let hot air out. There'll be a vented ridge cap on the finished roof. |
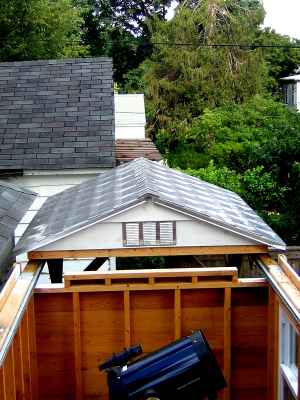
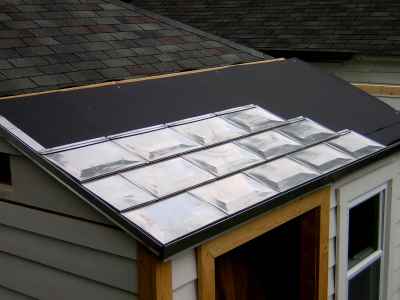 (18 Aug 2005) Finishing the roof -- the home stretch. These are four-side- interlocking stainless steel tiles that are about 1/3rd the weight of traditional composition shingles. (www.millenniumtiles.com) The backside tiles will be a little trickier to install because the garage roof overhangs the shed roof. |
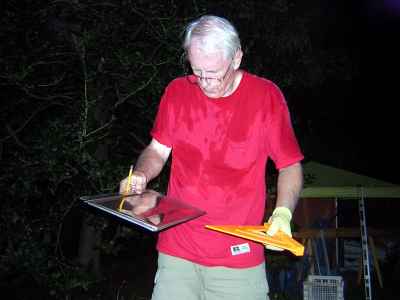 (22 Aug 2005) "What?" It's about 8 pm but just as humid as always. This is the last tile to be trimmed and put on the roof. |
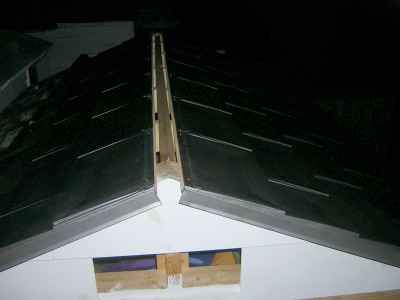 (22 Aug 2005) The whole roof is covered with stainless steel tiles. Putting the ridge cap tiles in place will finish the roof. |
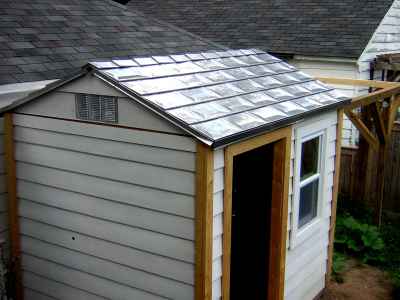 (24 Aug 2005) The roof is finished. Here are a few pictures to show off the observatory from various aspects. |
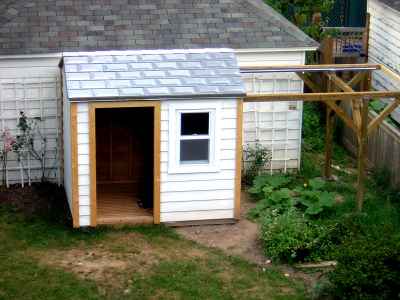 (24 Aug 2005) |
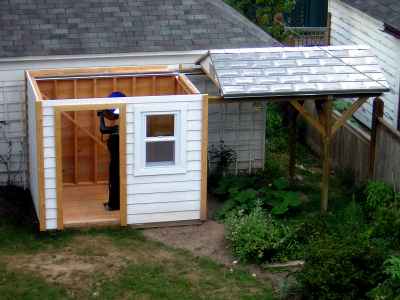 (24 Aug 2005) |
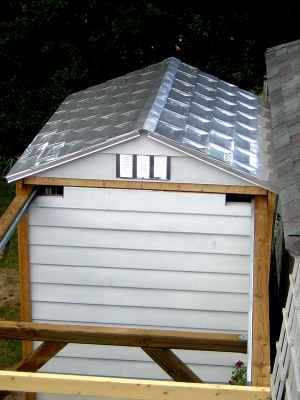 (24 Aug 2005) |
 (24 Aug 2005) |
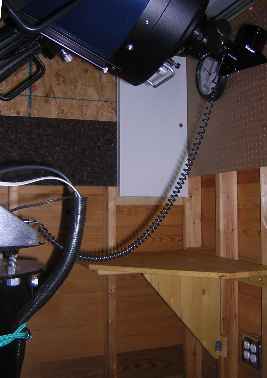 (02 Sep 2005) Here's an inside view showing the working corner, with a fold-down desktop, bulletin board, peg board and cabinet. There's not a lot of room, so this uses the space pretty economically. The floor is now covered with 2'x2' interlocking foam pads to cushion the feet. |
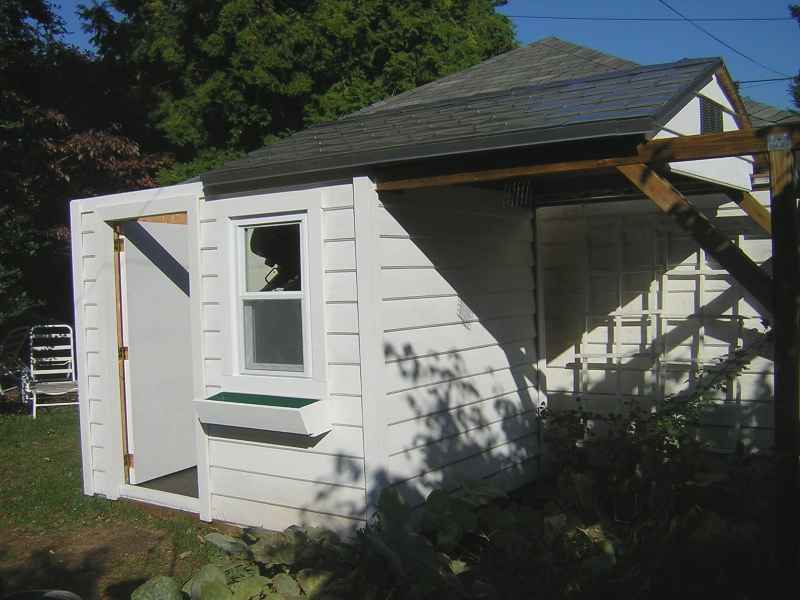 (07 Oct 2005) The door is finally in place. |
 (07 Oct 2005) The finished product! |
 (01 Nov 2005) A little vanity. |
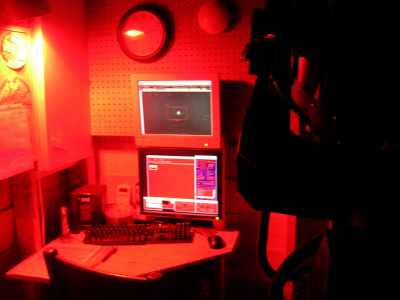
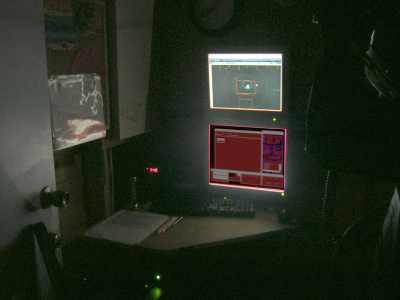 (05 Jan 2007) A year and a half later, here are two night-time views of the desk and telescope. |
 (05 Jan 2007) |
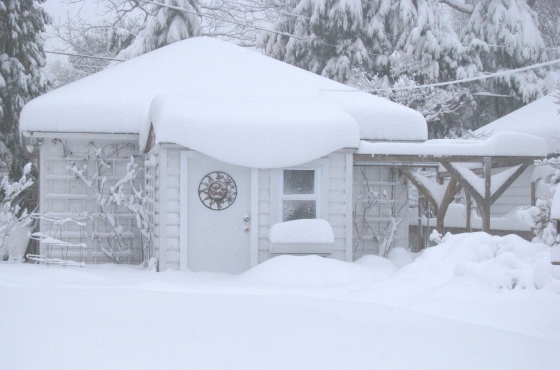 (6 Feb 2010) Five years later, a big blizzard slams BrightSkies. |
|
Some construction notes
I finished my 6'x8' SkyShed in October 2005. I would have liked something slightly bigger, but in DC the maximum footprint for building without a permit is 50 square feet. I followed the SkyShed plans in most regards, except for the following. 1) I bought a double-hung window and installed it in place of the window opening. I'm thinking here more of shed security rather than anything else. I had to build a frame for it, and so some of the measurements changed on the front of the shed, particularly the positions of the studs. 2) I also bought an exterior door rather than making one from planks - custom sized because of the specific opening. This meant I also had to build some additional framing for the door in order to hang it properly. I put a good lockset on it and used three heavy hinges to hang the door, which weighs about 60 pounds. 3) I bought stainless steel roofing tiles rather than using corrugated "quonset hut" steel. This is mostly because I couldn't find a supplier in the DC area that would sell less than a bazillion square feet of it. I would have had to buy WAY too much, for which I would have no other use. The stainless steel tiles weigh in at about 60 pounds. I used 5/8" plywood sheeting underneath, with roofing felt over that, and then put the tiles on. It was a rather expensive proposition, but there's essentially no heat conduction into the shed through the roof. I also left a 1/2" air gap on either side of the ridge pole rather than closing it up with the sheathing, to promote additional ventilation. 4) I did not use hangers for the roof ribs - I nailed these in instead. The whole roof assembly is about 225 pounds total weight. 5) When we bought our house years ago, there was a lot of regular house lap siding (8 inches wide x 16 or 20 feet long) in the garage loft, so I used that for siding on the shed. I did not use any other underlayment plywood or TYVEK paper, so the whole shed is well ventilated. 6) I used lots of deck screws, preferring them to long nails in most places. As you might expect, I'm not worried about ventilation, as the shed is pretty drafty. The interior temperature is within a few degrees F of the outside air temperature. It's been my experience over the years that the equipment can take the temperature and humidity extremes, too. I have no plans to put in a humidifier or dehumidifier, air conditioner or heater. The only tool I had to buy was a large (compound) power mitre saw, to cut the 4x4's and 2x6's - I couldn't even mitre a 2x4 accurately by free-hand or with the little mitre box I had. I had a real blast building this SkyShed myself. I worked 4-5 hours on both days of almost every weekend between May and Labor Day - enjoying every minute, although on many of those days the temperature was above 95 degrees. One other note of interest -- the telescope has to be parked at an angle so the roof doesn't cream the OTA when it slides by! I didn't have to forget this more than once! By the way -- "measure twice, cut once!" is good advice. |